Installing and fully curing a traditional epoxy garage floor in Johnson County takes 5 to 7 days before it can safely handle vehicle traffic. However, professional installers utilizing modern polyaspartic coating systems can complete the installation in a single day, with the floor fully cured and ready for vehicles in just 24 to 48 hours. Choosing the correct chemical coating dictates exactly how long your garage will be out of commission.
The term “cure time” refers to the chemical process of the liquid resin cross-linking and hardening into a solid, structural barrier. It does not simply mean the paint is “dry to the touch.” The timeline depends entirely on the chemical composition of the coating and the atmospheric conditions during application.
The Return-to-Service Timeline: Epoxy vs. Polyaspartic
Understanding the exact return-to-service timeline is critical for logistical planning. You must know when you can walk on the floor, when you can move heavy storage racks back inside, and when you can safely park a 4,000-pound vehicle on the surface.
| Coating System | Light Foot Traffic | Heavy Items & Storage | Vehicle Traffic | Total Time Out of Garage |
| Traditional Epoxy | 24 to 48 hours | 3 to 4 days | 5 to 7 days | Up to 1 week |
| 1-Day Polyaspartic | 2 to 6 hours | 12 to 24 hours | 24 to 48 hours | 1 to 2 days |
| DIY Water-Based Epoxy | 24 hours | 3 days | 7+ days | Often fails regardless of time |
Polyaspartic coatings cure catalytically rather than relying on ambient temperature evaporation. This rapid chemical reaction drastically reduces your downtime and allows for a lightning-fast return to service.
How Johnson County Weather Dictates Cure Times
Traditional epoxy resins are highly sensitive to ambient temperature and atmospheric moisture. The climate in the Kansas City Metro frequently presents worst-case scenarios for traditional epoxy curing.
According to the National Weather Service data for Olathe and the KC Metro, morning humidity frequently peaks between 80% and 93% during the fall and spring, often accompanied by cool temperatures in the 30s and 40s.
- Temperature Restrictions: Traditional epoxy requires ambient temperatures well above 50°F to cure properly. If the temperature drops below this threshold overnight in an unheated Overland Park garage, the epoxy stops curing entirely, remaining sticky and viscous.
- Humidity Issues: High humidity forces moisture into the traditional epoxy resin as it attempts to off-gas. This creates a destructive chemical reaction called “amine blush,” which leaves a greasy, cloudy film on the surface of the floor. This blush ruins the finish and prevents topcoats from adhering.
- The Polyaspartic Advantage: Polyaspartic coatings are engineered to cure in extreme conditions. They can be successfully applied in a wide range of temperatures, making them highly suitable for cold Kansas climates. Furthermore, atmospheric moisture does not stall the curing process, meaning humid Kansas mornings will not ruin your installation.
The 1-Day Installation Timeline Explained
Homeowners often wonder how a professional crew can achieve in one day what takes a DIYer a full week. The answer lies in heavy machinery and rapid-curing polyurea chemistry. Here is the exact timeline for a standard two-car garage in Lenexa or Shawnee:
- 8:00 AM – Concrete Profiling: The crew arrives and immediately begins diamond grinding the concrete slab. This mechanical preparation takes 2 to 3 hours and creates the deeply porous profile necessary for the industrial coating to form a permanent bond.
- 11:00 AM – Crack Repair: All settlement cracks, spalled areas, and pitting are chased with a grinder, vacuumed, and filled with a rapid-curing polyurea joint filler. This filler hardens in minutes and is shaved completely flush with the slab.
- 12:30 PM – Base Coat & Flake Broadcast: The installer mixes and rolls out the polyurea base coat. Immediately after rolling, the decorative vinyl flakes are broadcast across the wet floor to the point of absolute rejection, covering 100% of the concrete.
- 2:30 PM – Scraping and Vacuuming: Because the base coat cures rapidly, the crew can walk on it with spiked shoes just a couple of hours later. They scrape off the loose, vertical flakes to create a uniform texture and vacuum the floor perfectly clean.
- 3:30 PM – Clear Topcoat Application: The final step is rolling out the UV-resistant polyaspartic clear topcoat. This heavy-duty layer locks the decorative flakes in place and provides extreme chemical and abrasion resistance.
- 5:00 PM – Crew Departure: The installation is complete, and the chemical curing clock begins.
The Danger of Rushing the Cure Time: Hot Tire Pickup
Returning your vehicles to the garage before the floor has achieved a 100% chemical cure is the leading cause of catastrophic floor failure.
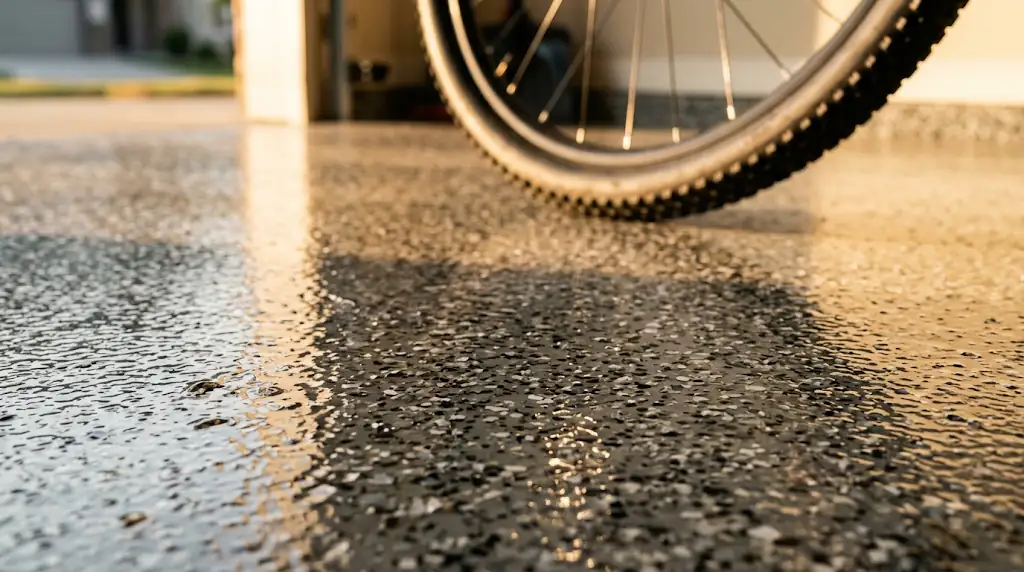
When you drive a car, the tires generate immense friction and heat. When you park a hot tire on an uncured or partially cured epoxy floor, the residual heat softens the resin. As the tire cools overnight, the rubber physically bonds to the epoxy surface. When you put the car in reverse the next morning, the immense torque of the tire will rip the epoxy directly off the concrete slab. This failure is known in the industry as hot-tire pickup.
To prevent this in your Gardner or Leawood home, you must adhere strictly to the vehicle return-to-service timeline provided by your installer. Even if a traditional epoxy floor feels rock-hard to the touch after 48 hours, the deep chemical cross-linking required to withstand the weight and heat of a 4,000-pound vehicle takes up to 7 days. Polyaspartic chemistry accelerates this cross-linking, safely supporting hot tires in a fraction of the time.
Professional Installation vs. DIY Kit Timelines
Hardware store DIY kits promise a simple weekend project, but the reality is much longer and far less reliable.
- Acid Etching Delays: DIY kits instruct homeowners to prep the floor using muriatic acid and water. You must wait days for the porous concrete slab to completely dry before applying a water-based epoxy. Applying any coating over damp concrete guarantees total delamination.
- Multi-Coat Waiting Periods: Cheap DIY epoxies require a primer, a base coat, and a topcoat, with mandatory 12-to-24-hour waiting periods between rolling each layer.
- The 7-Day Cure: After spending a week prepping, etching, and painting, you still must wait a full 7 days before parking your car on a DIY epoxy floor.
Professional installers bypass these delays entirely by utilizing heavy mechanical diamond grinders—which require zero drying time—and rapid-curing polyaspartic chemistry.
Secure Your 1-Day Garage Transformation
Living without your garage for a week is a major logistical disruption. You have to park your vehicles on the street, relocate your tools, and leave your stored items exposed to the elements. By choosing a professional polyaspartic floor system, you minimize downtime and maximize durability.
We utilize industrial-grade, rapid-curing chemistry designed specifically to handle the temperature swings and humidity of the Kansas City Metro. You get a permanent, beautiful floor without the week-long wait.
Contact Olathe Epoxy Flooring to upgrade your concrete. Visit our contact page to schedule a free measurement and quote for your home in Olathe, Overland Park, Lenexa, Shawnee, Gardner, Leawood, or De Soto.